Fallout 3 AER-9 Laser-Rifle
Build by ncc1701ea | | Posted On Samstag, 18. Dezember 2010 at 10:52
Many of you asked for a tutorial and so I decided to make this blog.
In the future I will write in this blog about my replicas and how I build them.
I hope this tutorial will be helpful.
Now to the Laser Rifle:
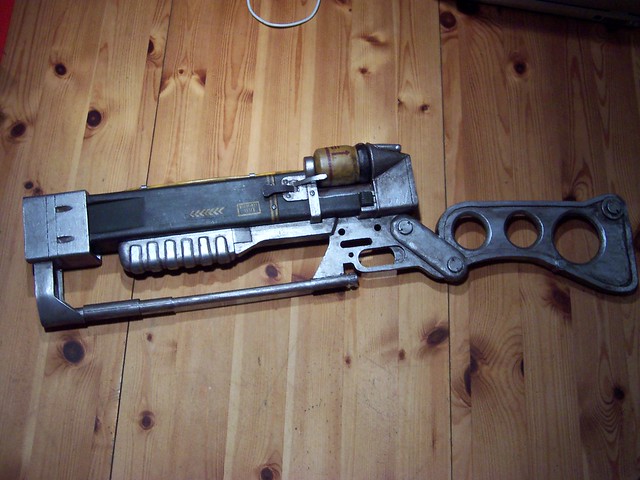
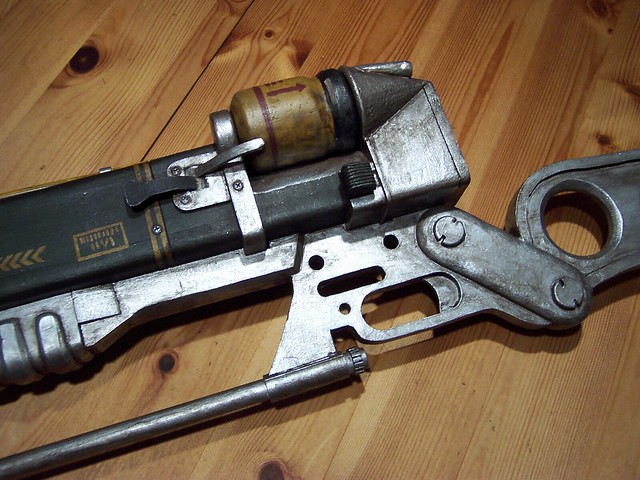
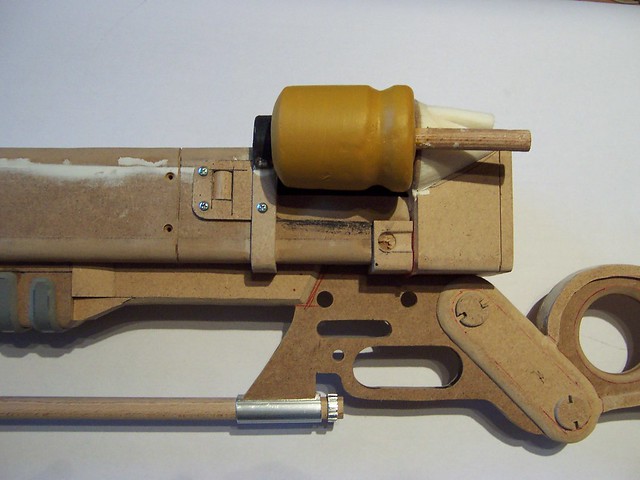
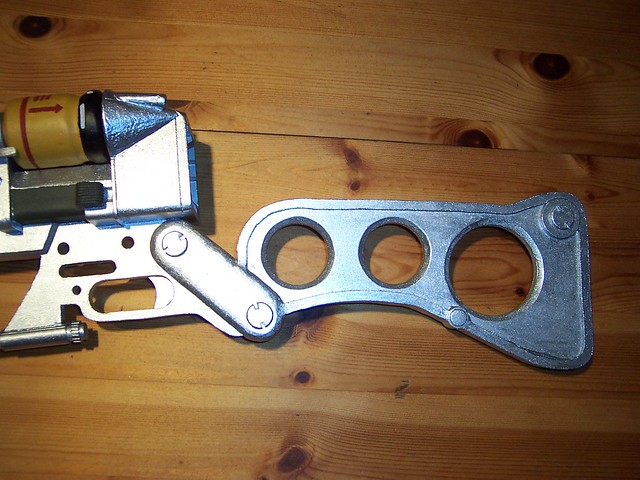
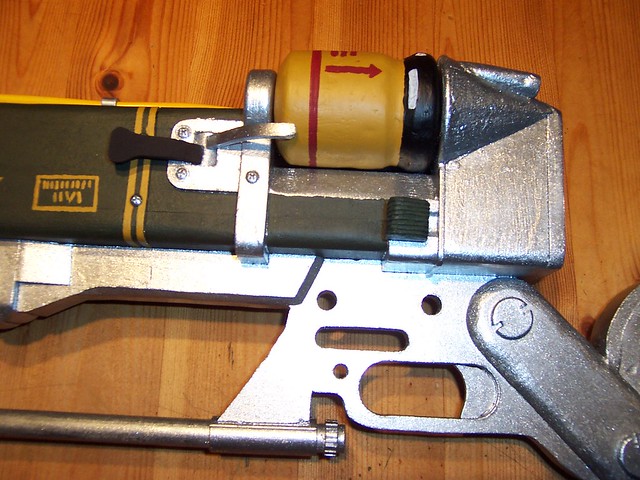
Here you see some pictures how a prototype looks finished after a lot of work.

Now how I build it. Basically one can say there are 3 steps to build this Laser Rifle
1.) Planning. 2.) Construction. 3.) Decoration.
Planning:
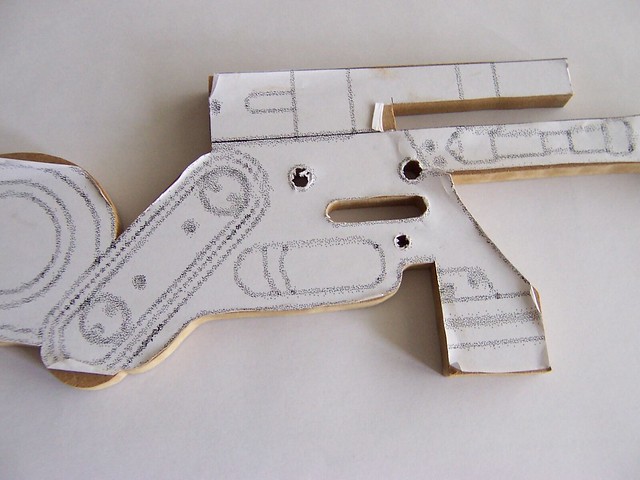
The first step is to look at the laser rifle in the game and make screen-shots of it.
I need a blueprint to make sure that the laser rifle has the right proportions.
For this reason I make a special screen-shot.

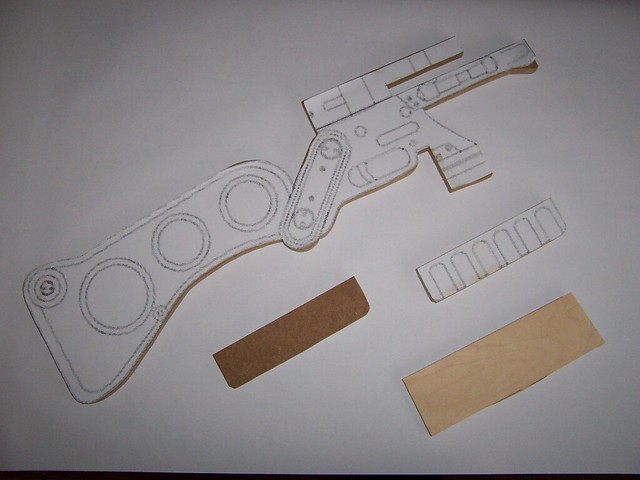
I processed this image using GIMP. I put a second clear layer-plain on it and draw the outlines.
After that I delete the screen-shots and save the new blueprint. With this new blueprint I go to the copy shop and print it out on a Din A0 sheet of paper (really really really big).
Construction:
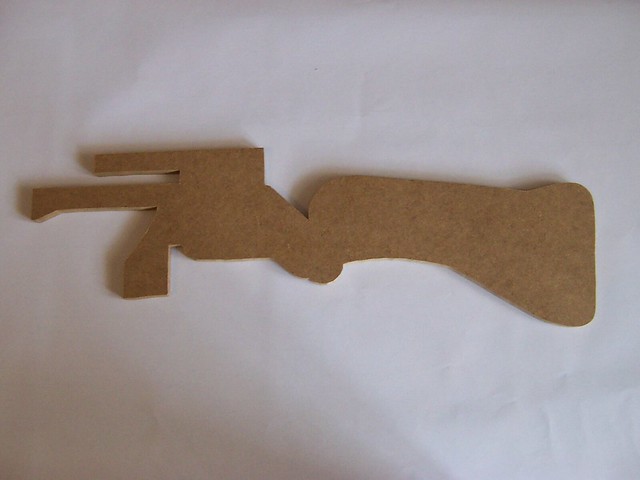
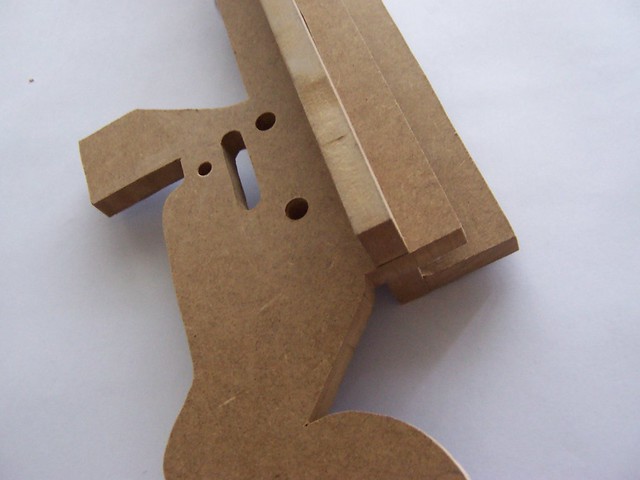
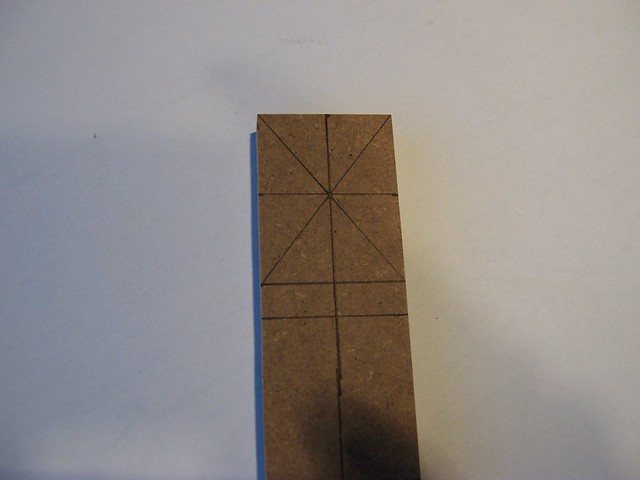
After that I glue this printed blueprint on a 12mm MDF board and cut it out.
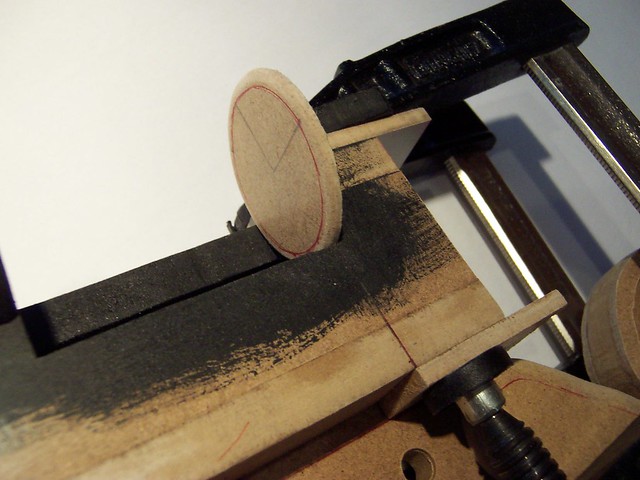
For cutting the round parts I use my scroll saw.
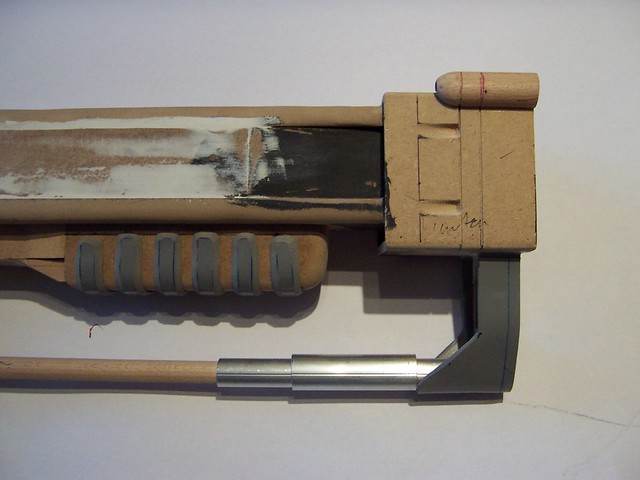
To build the gun barrel is relatively easy because it's angular.

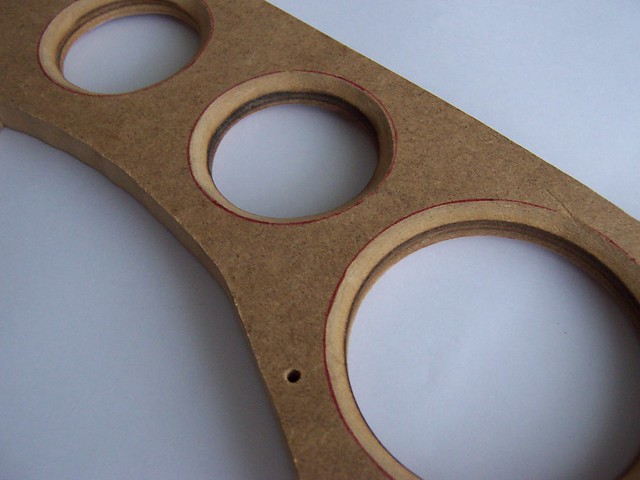
The foundation of the barrel is made of 6 pieces of MDF board.
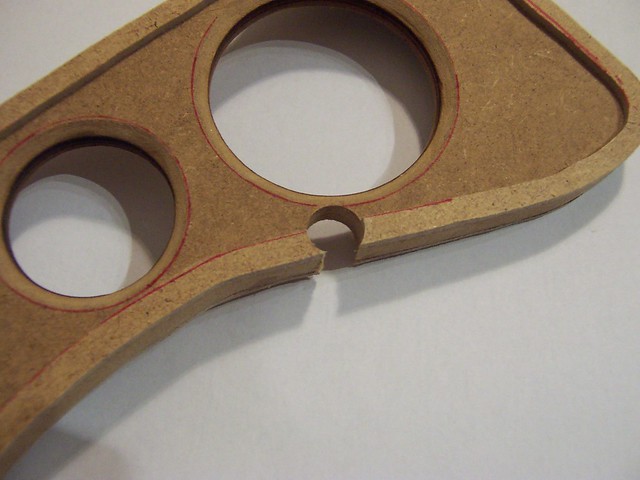
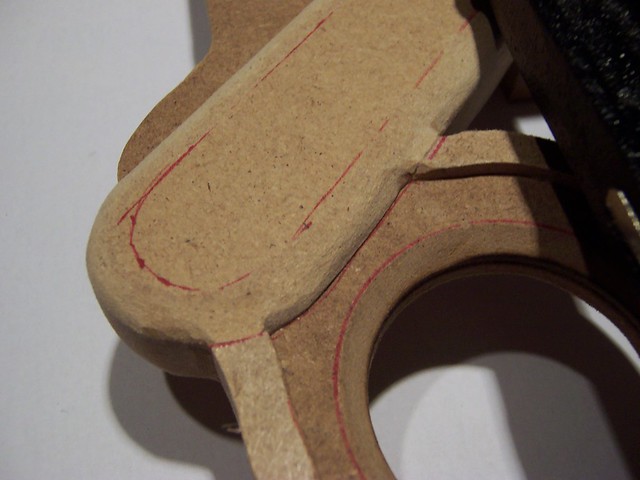
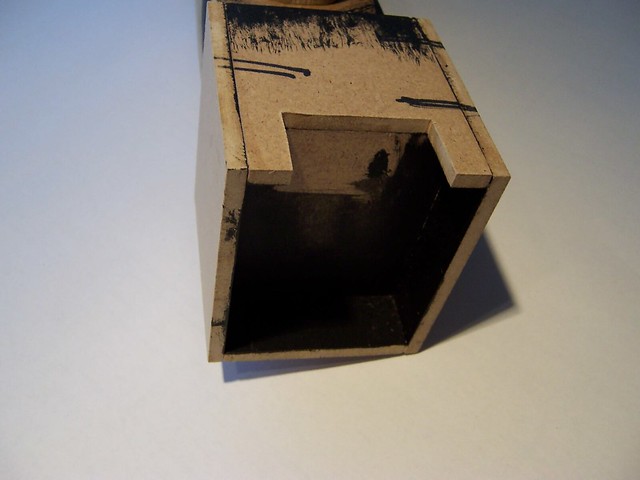
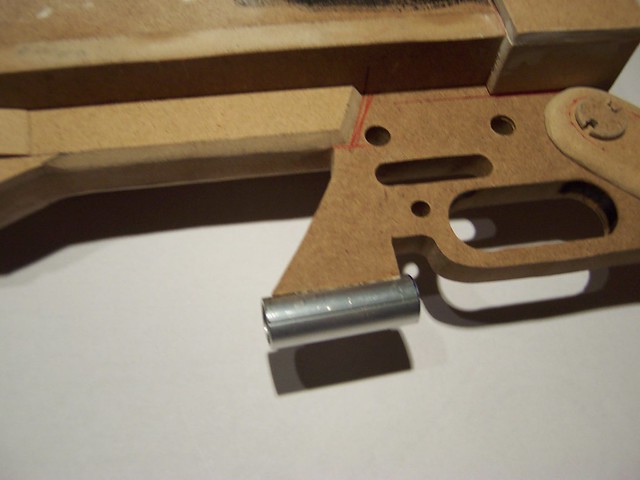
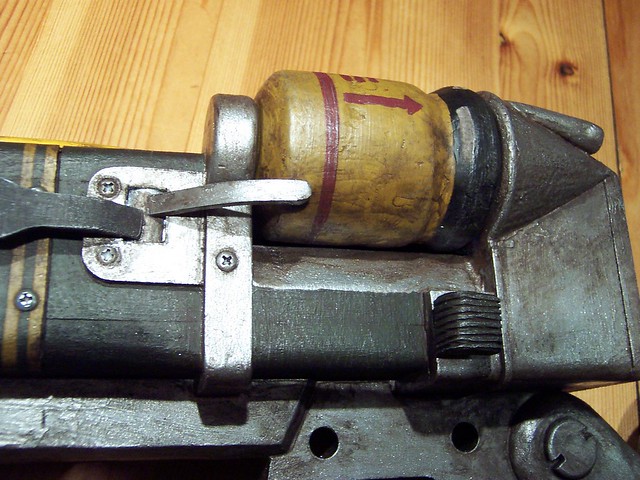
On this picture you can see how I made the notch on the side of the gun barrel.
Here you can see something important. This notch connects the main parts of the gun.
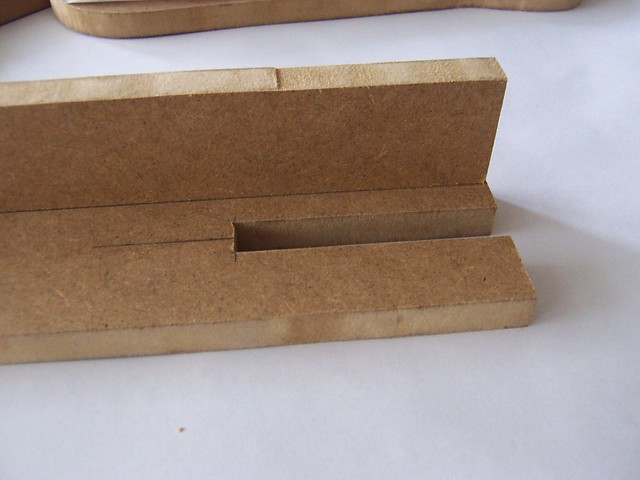
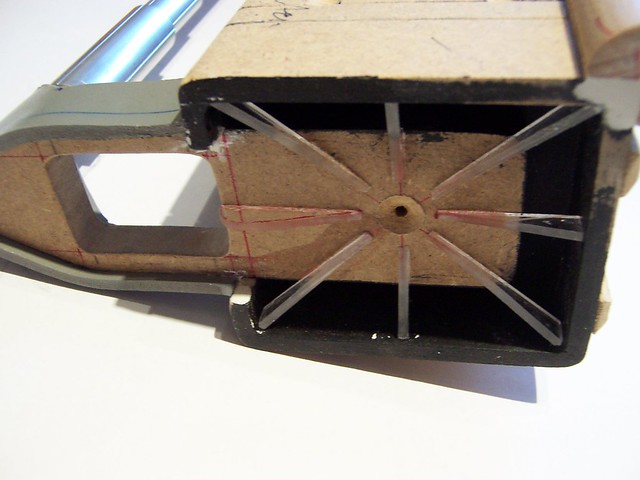
The complete base of the gun is made out of 12mm (~0.47inch) MDF board
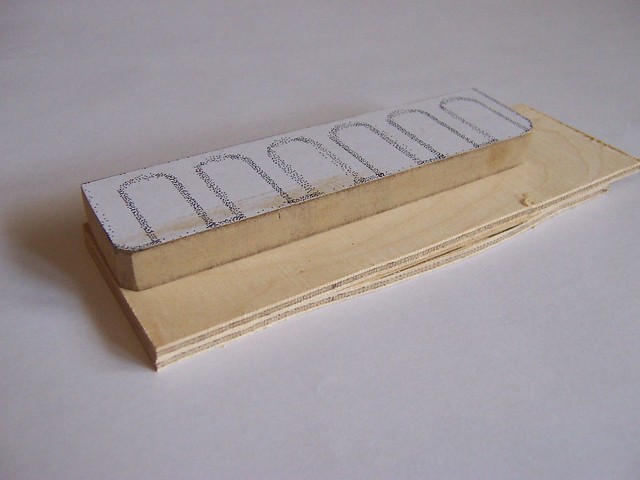
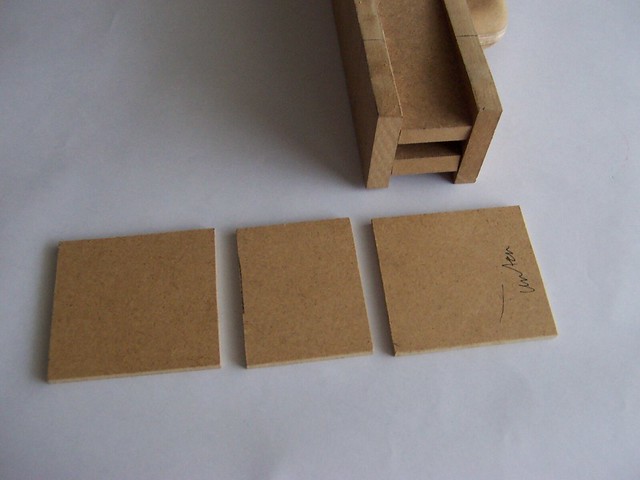
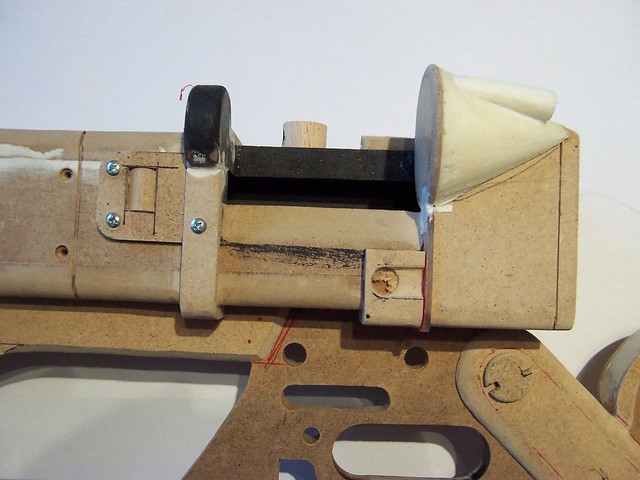
After this part is finished, I start working on the details. The most important detail involves taking a 4mm MDF board and cutting it into two pieces.


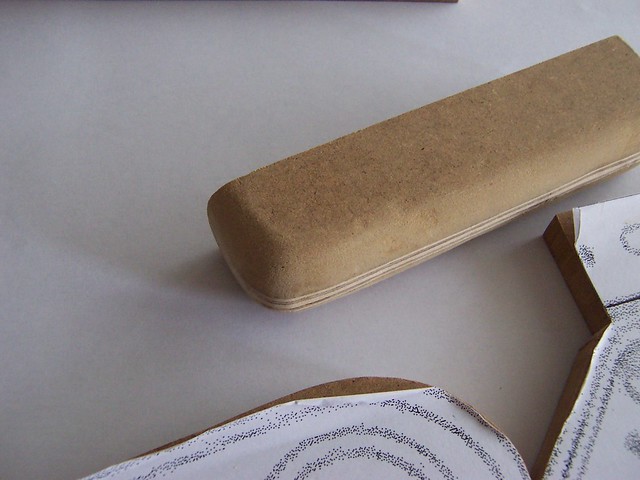
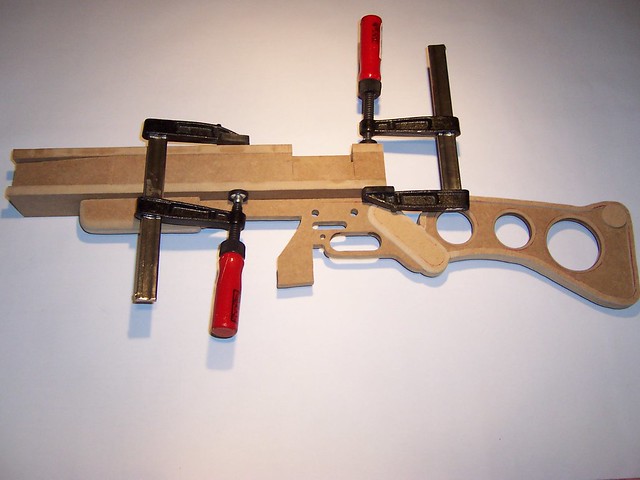
After gluing the two thin MDF parts on the Rifle it looks like this


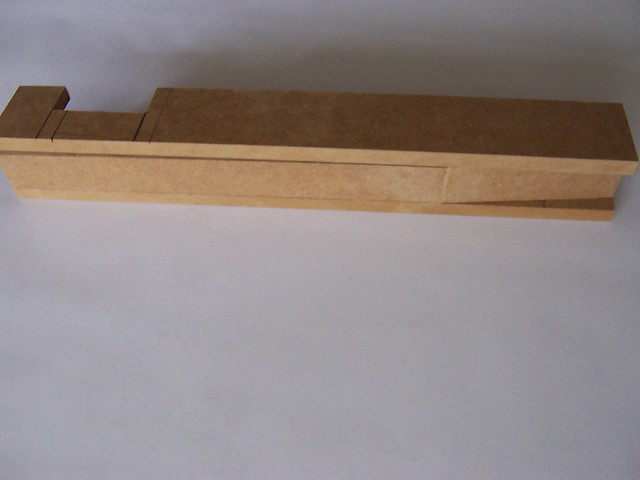
and a bit more detail
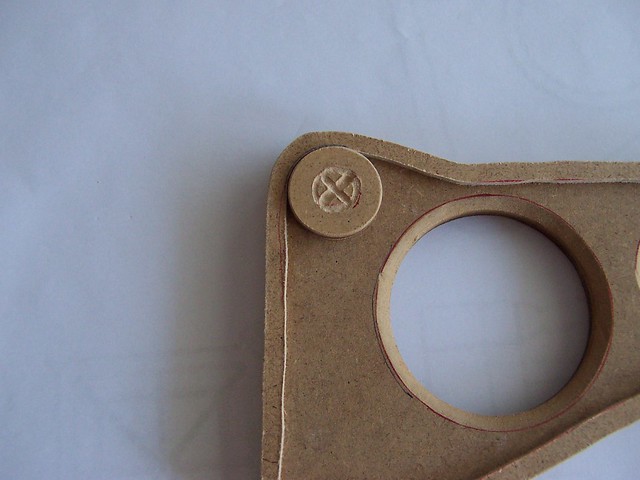
Here, I decided to make better screws with more detail than the one in the picture.
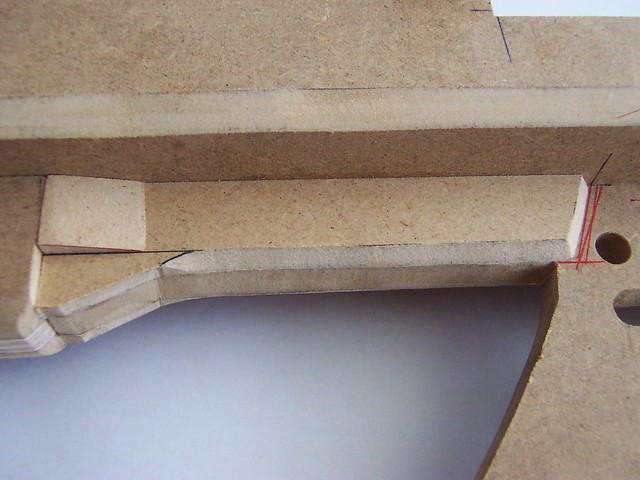
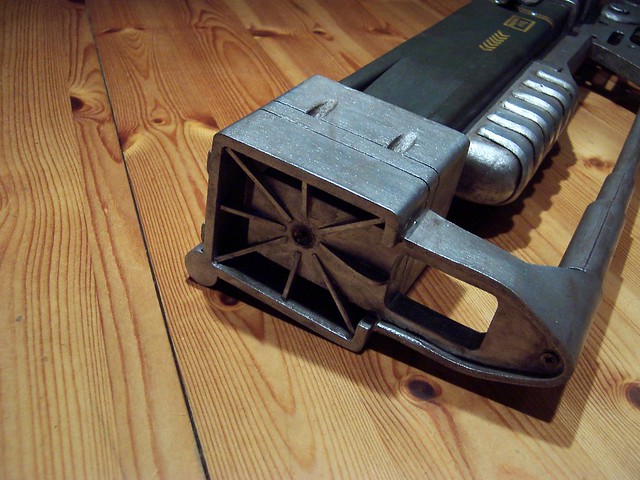
The detail on the Handle of the gun is made out of 8mm MDF board
and the front, too.
You can imagine what it will look like.
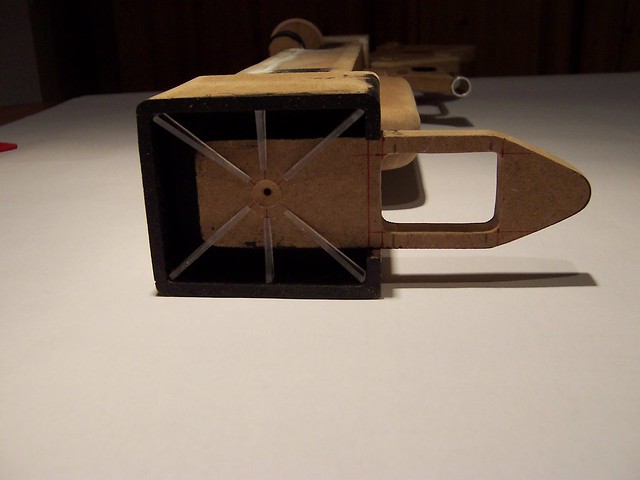
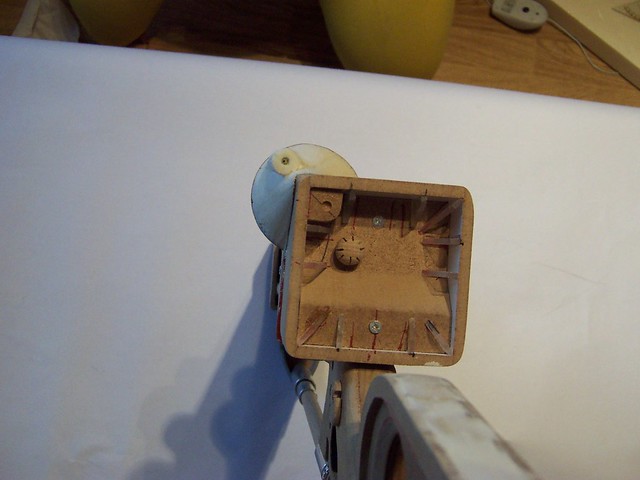
The five parts of the front together. One on the front, left, right, top and bottom.

I painted the pieces black before gluing them together as I can´t reach them with the brush after gluing.

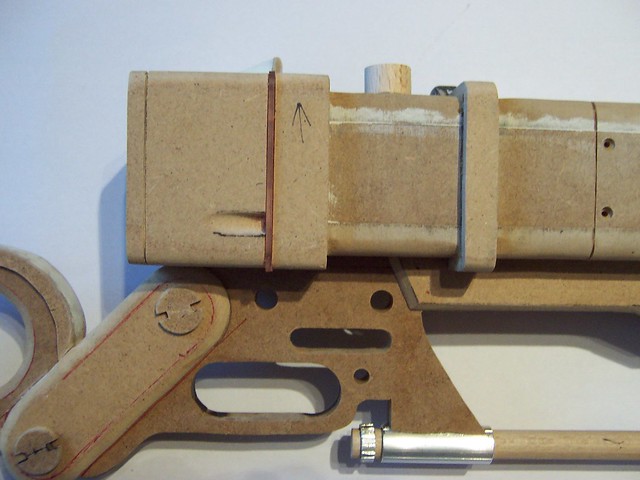
After this step the whole gun looks like this. Now more details for the front.

The front side is taking shape.

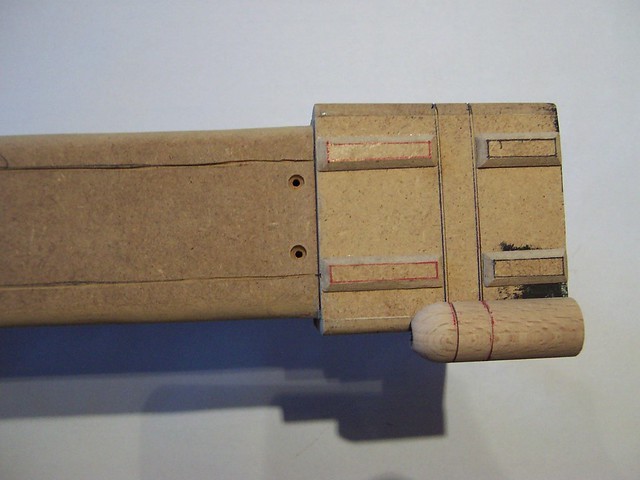
The front is already finished but the rest is missing.


Here you can see the details of the back part, it was a bit hard because every time I thought I completed everything, I realized that I had forgotten something. I won´t go into details here.
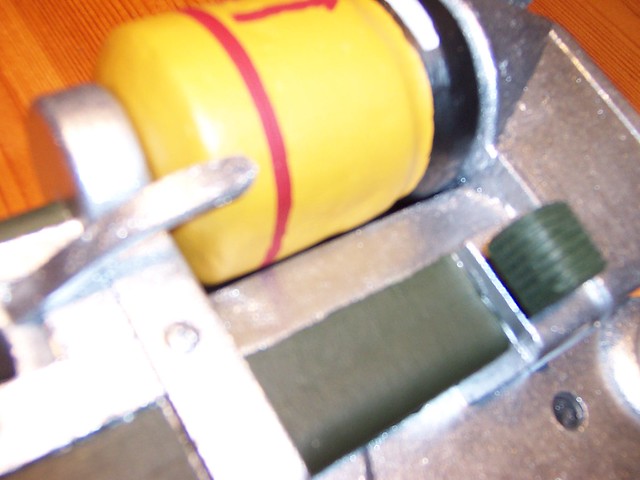
Finally, the ammunition its made out of polystyrene coated with polyester putty.

The painting:
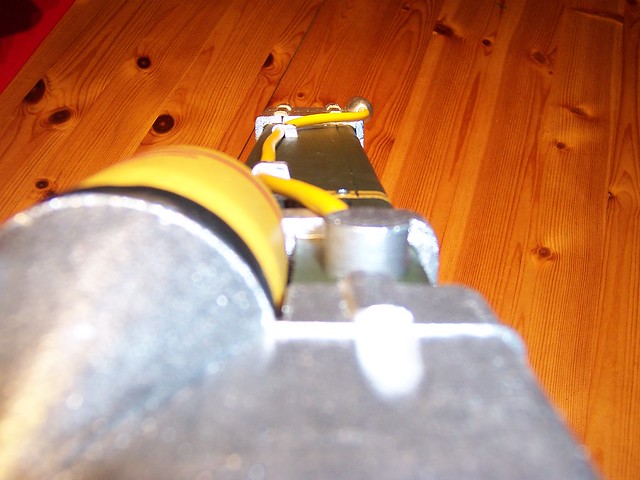
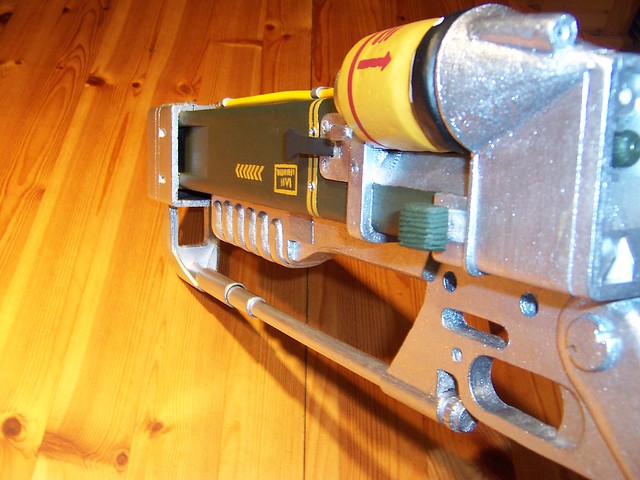
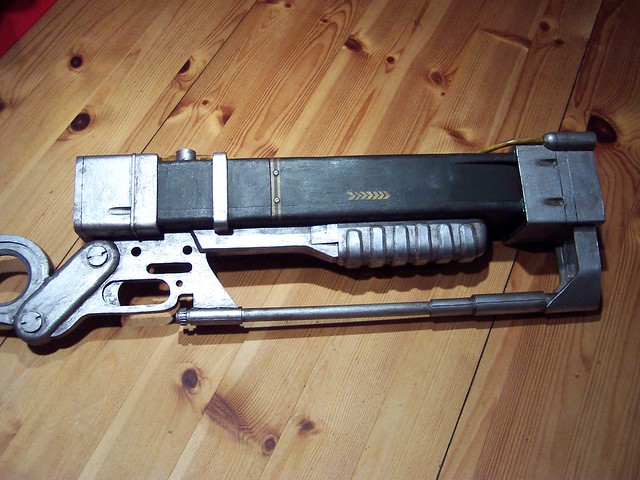
At first I painted the whole gun with different kinds of silver spray to get this metal look.
Then, I painted the gun barrel green with a brush. I decided to painted it with the brush because I ...
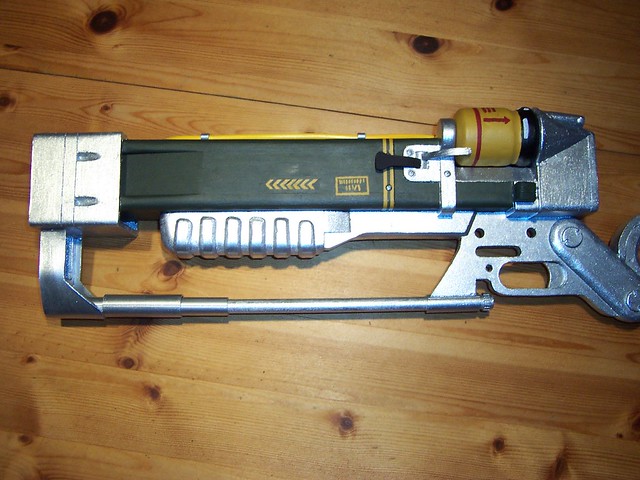
wanted this special look. I think it looks more realistic than a completely polished gun.
Maybe this is why they built this rifle the way they did and maybe they used plastic or wood for the barrel because they ran out of metal.
After painting the parts the gun needs to be aged. But first I will show you some other pictures from this stage.


So now we come to aging.
For this I use brown paint with a lot of water. I take a big brush and put the diluted paint on it. After that I rub the extra paint on the rifle away with a rag.

So. I hope this helps you and if not, ask me your questions.
Please leave your comment below or on my youtube channel.
Share with your friends and associates.
hey man your prop is really really good would you be able to build me one ??
Coole Props .. du bisch jah auch auf game one ...... könntest du mir ne Portal Gun Bauen ? :D
Email : derbaer360@gmx.de
hay how muuch are you selling the carbine for
I don't have the tools and it looks pretty complex... In a good way I like it. Could You Please build me one?
hey, im a HUGE fan of the fallout series and i always use a laser or plasma rife (mostly laser ), unfortunitly i wouldnt be able to build this but if you get the chance email me at mckaleberg@ymail.com and we can talk prices, thanks
hey it looks really cool and i want to try to build it too (i think its to hard for me ;)can you send me the blueprints and the format i have to print them? my email is benedictl@live.de