Halo 3 Covenant Carbine
Build by ncc1701ea | | Posted On Samstag, 15. Januar 2011 at 11:55
Welcome back to my blog. This is my second post on this blog and it's about the Covenant Carbine.
To build the Covenant Carbine was a hell of a lot of work and takes much longer than the Laser-Rifle only because of his round shapes.
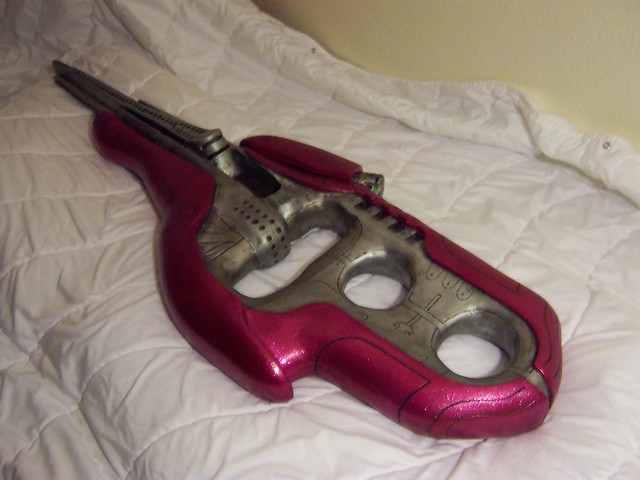
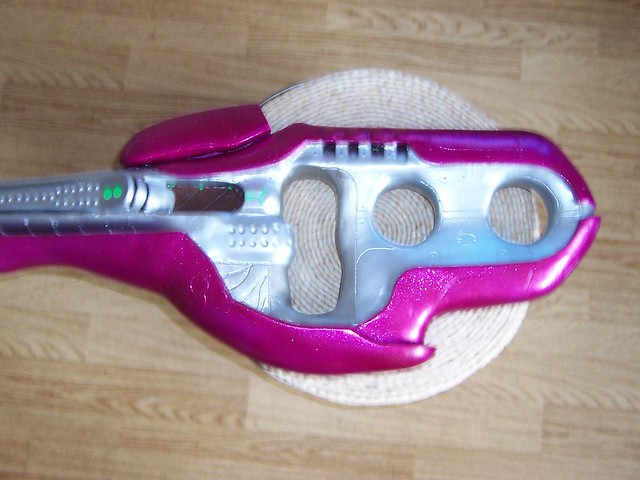
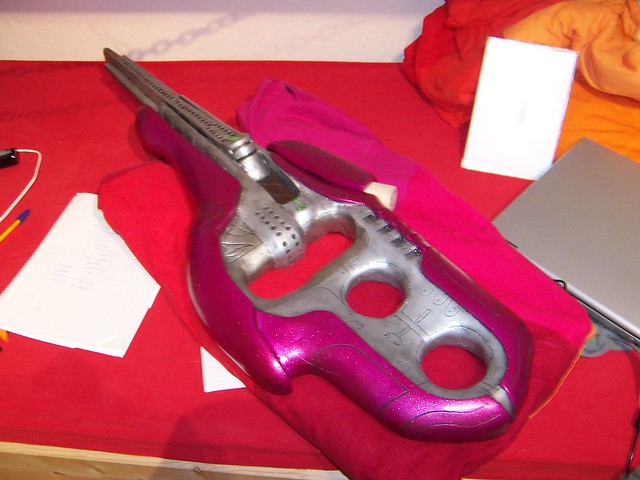
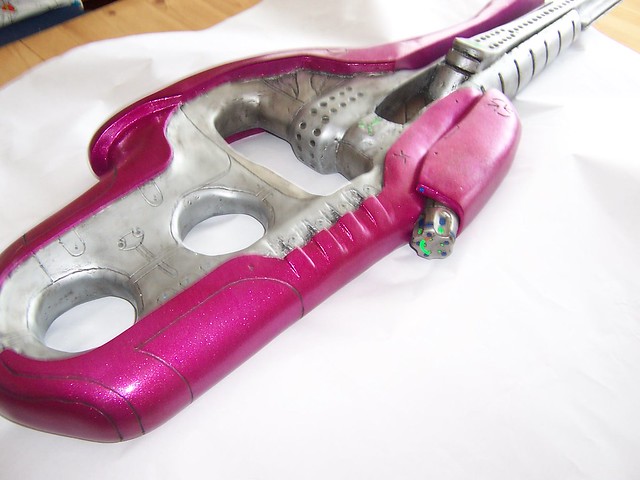
But first some Pictures of the finished prop.


Let's see how I built it:
First I needed a blueprint and for that...
Butler: the same procedure like last prop, Ms Sophie?
Ms Sophie: The same procedure like every prop, James!
... hmm nobody's laughing, that should be funny.
Anyway I've started to make photos of the Covenant Carbine in Halo3, thank god for the forge mode. It helps me a lot to make good pictures of the Covenant Carbine.
With this picture (you can read the exact procedure in the previous Laser-Rifle post) I made this blueprint which isn't blue.
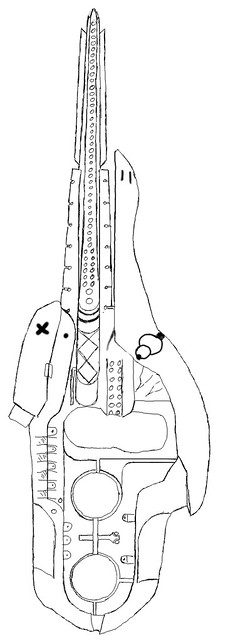
For those who want to build their own covenant carbine, I allow you to use this blueprint for noncommercial projects but if you make you own blog or youtube video you have to mention that the blueprint is from here and you must link it to this blog.
For the other pictures on this blog, you need to ask me before you publish pictures from this blog.
Enough said, back to the building process.
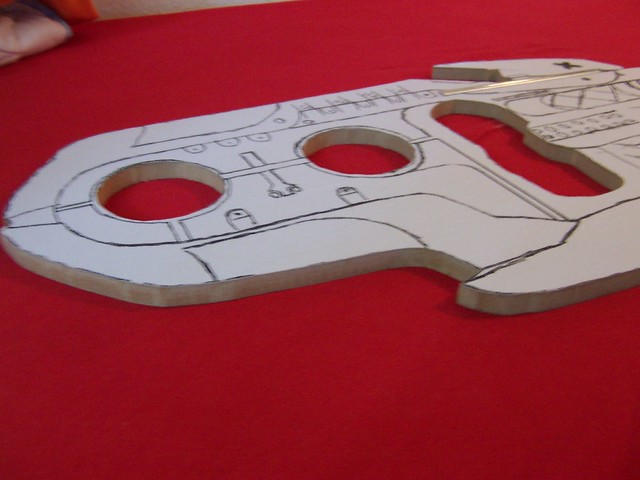
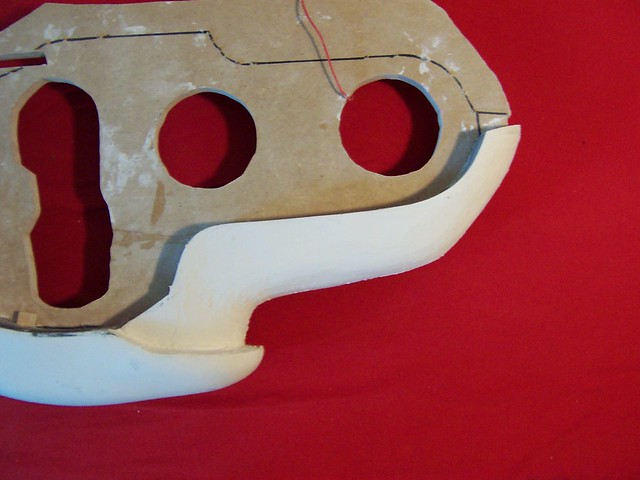
After printing the blueprint on a really big paper, bigger than the one for the laser rifle,
I glued this blueprint on a 12mm MDF board. Yes MDF again.

Then I used my scroll saw and cut it out.
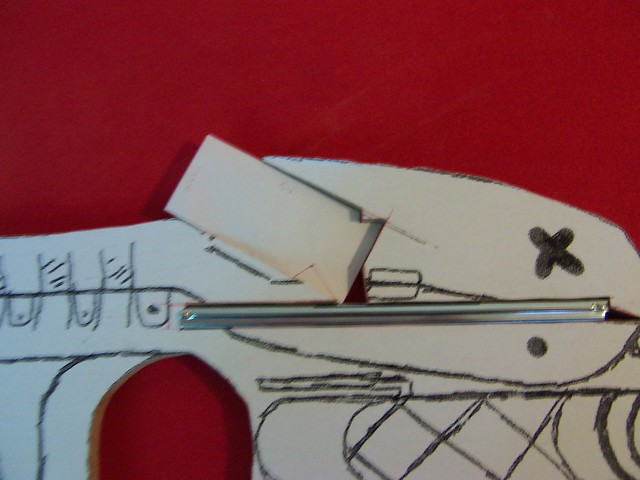
This time I wanted to make the ammunition removable.
For that I invented an simple mechanism.

In the following picture you see how I made the form of the of the gun barrel out of polystyrene
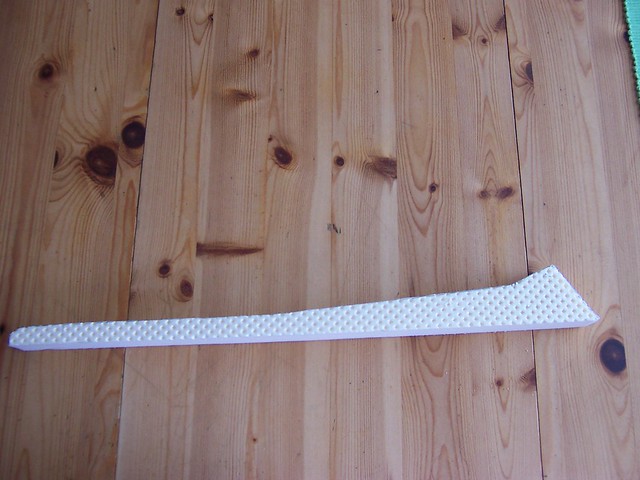
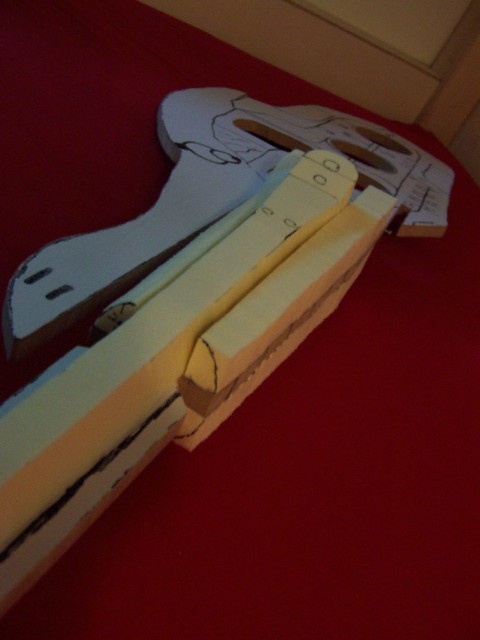
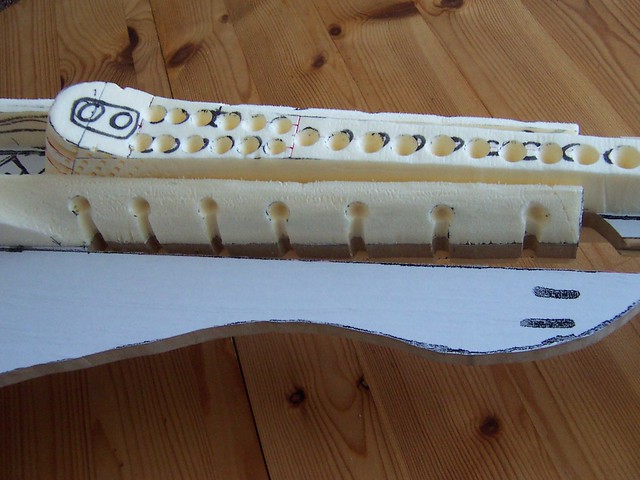
This was one of the easiest part. Now comes the polyester putty.


Yes, I know it needs a bit more sanding and putty.
But at this point I recognised that I really hate sanding and putty, but there was no other way.
After the barrel was relatively complete, I wanted to finish the rest of the gun before I made the details on the barrel.
I decided to split the work on the carbine in different sections.
To make the big round and magenta edges of the carbine I needed a border between these sections.

This border will make it easier to plan and build the different sections.
The building process of one of these sections looks like this.
1.)
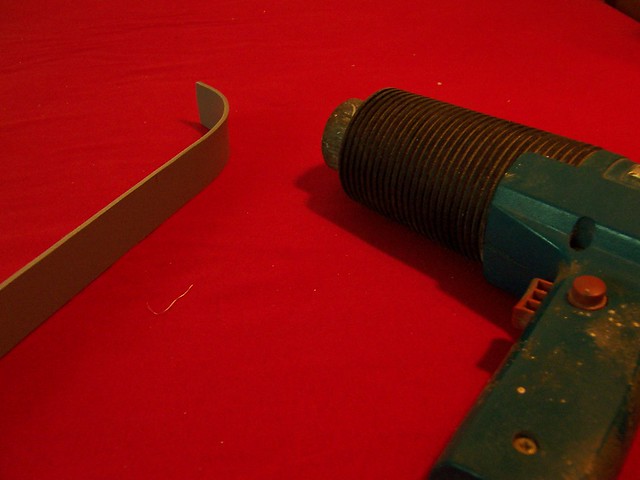
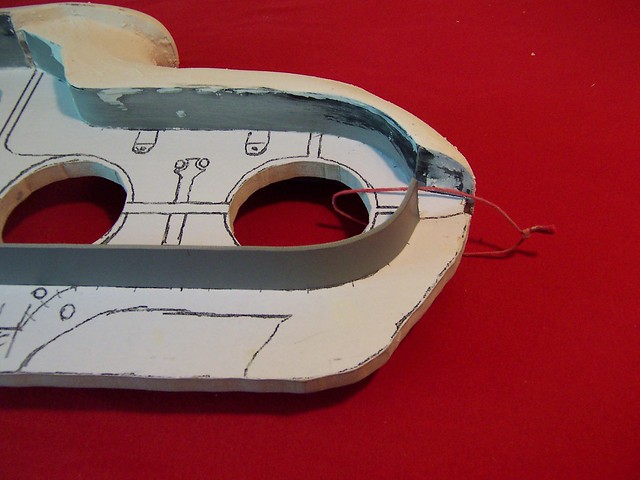
Making the border:
for that I used some PVC plastic, I don't know exactly what it is or is called but it seems not to be dangerous and its easy to work with.
With this pvc plastic stuff, I give the border the shape I want it to have.
If you know what you want, it is really easy to work with this stuff because its easy to cut with a scroll saw and its easy to bend with hot air (sounds political).
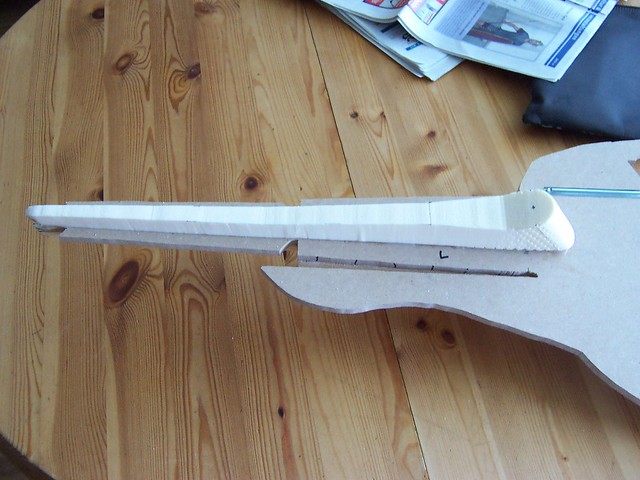
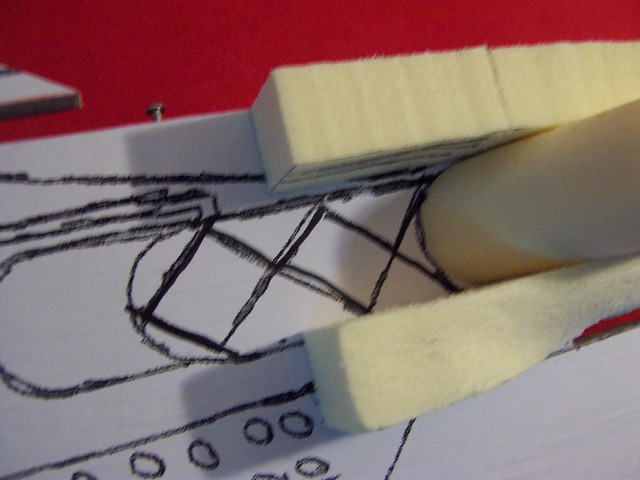
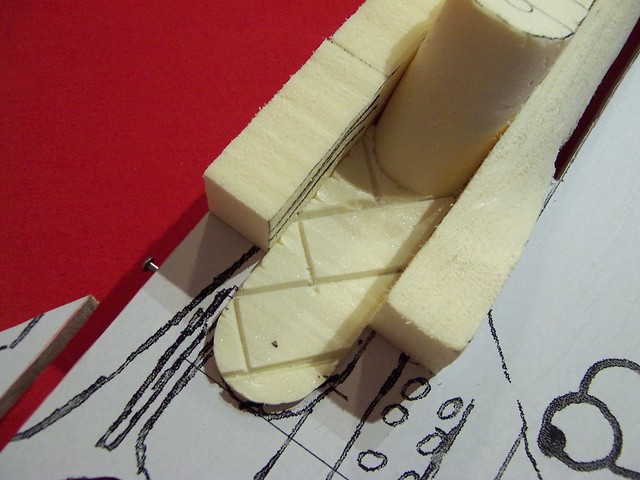
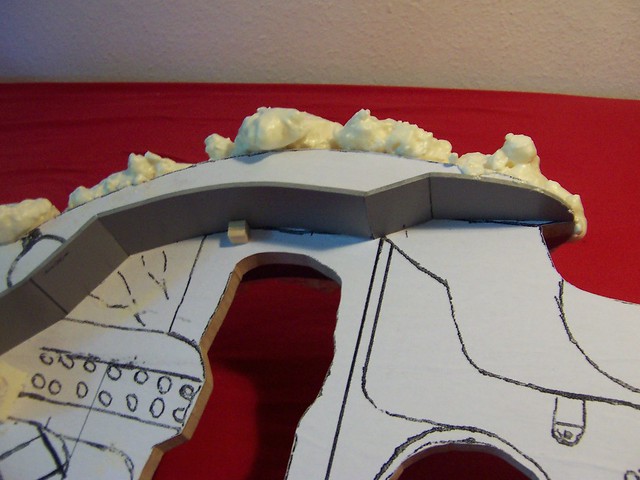
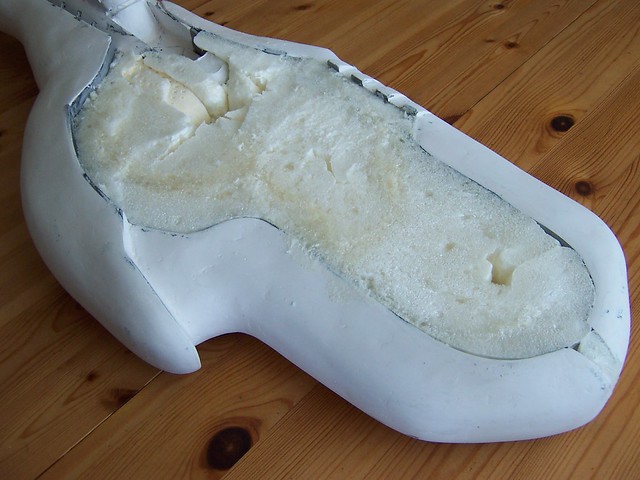
After the border parts were glued in place, I filled the area and the edge with construction foam.
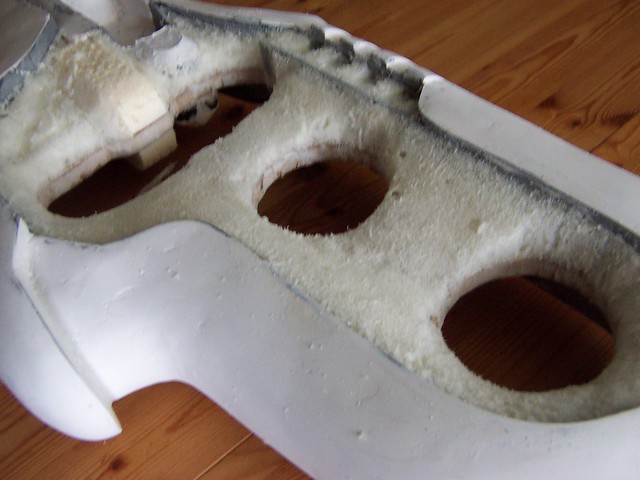
And after waiting one night I ...
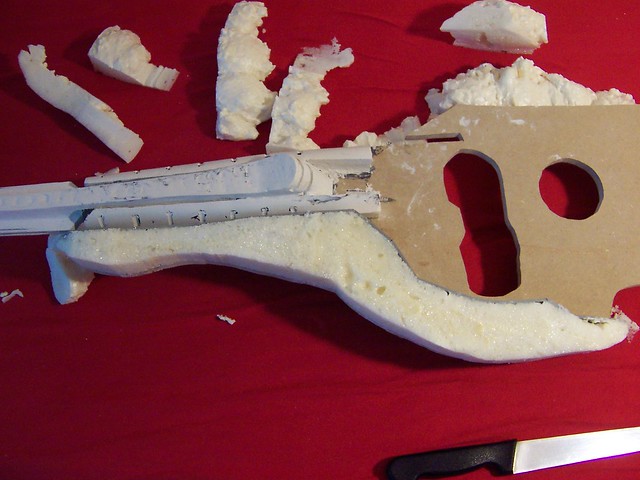
... I cut the material in this new form.

And again, the annoying part, the putty and sanding.
I can't emphasize enough how much I hate all the putty and sanding.

It's easy to describe, putty, sanding, putty, sanding ...
But I have to say it makes a nice and stable surface.
I repeat these three steps for all the edges of the gun:
Building the border.
Filling with construction foam

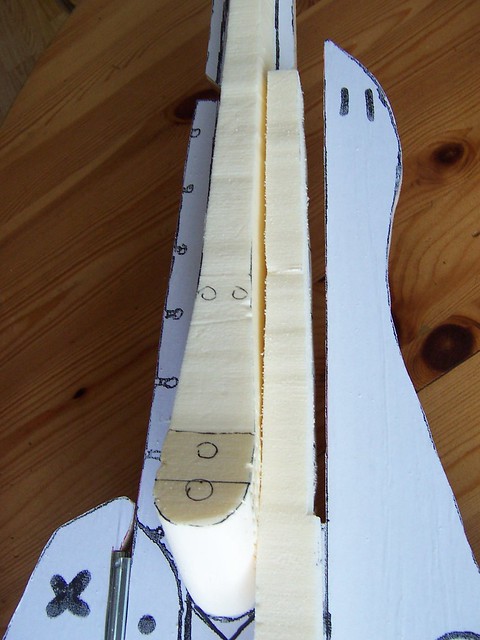
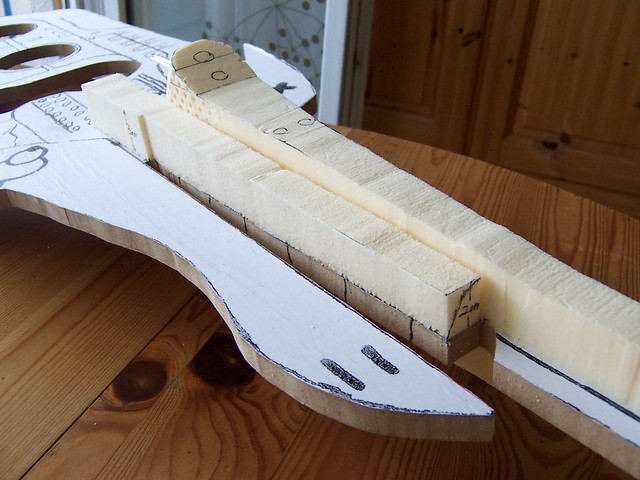
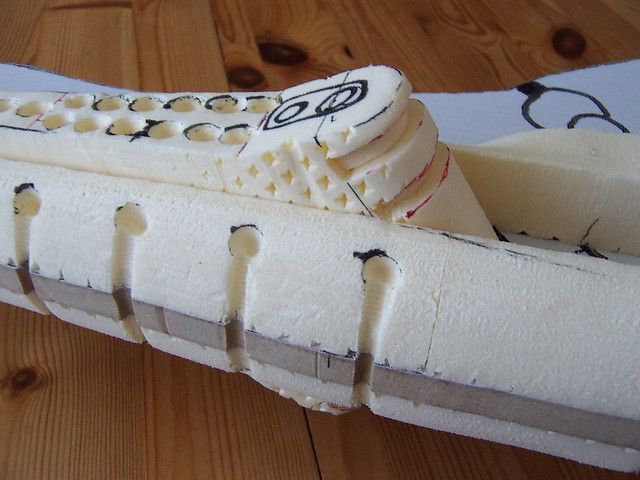
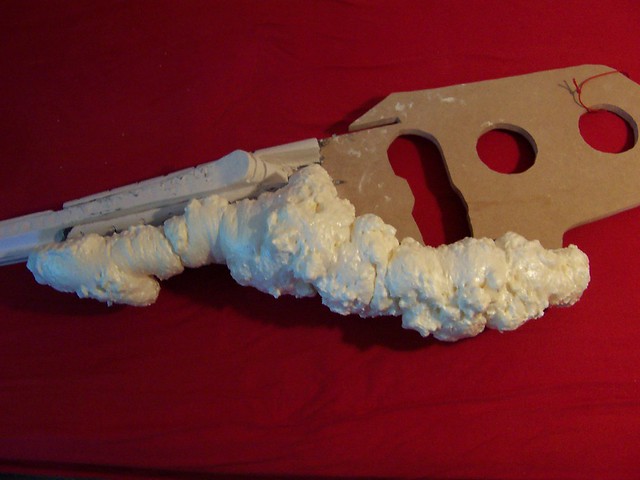
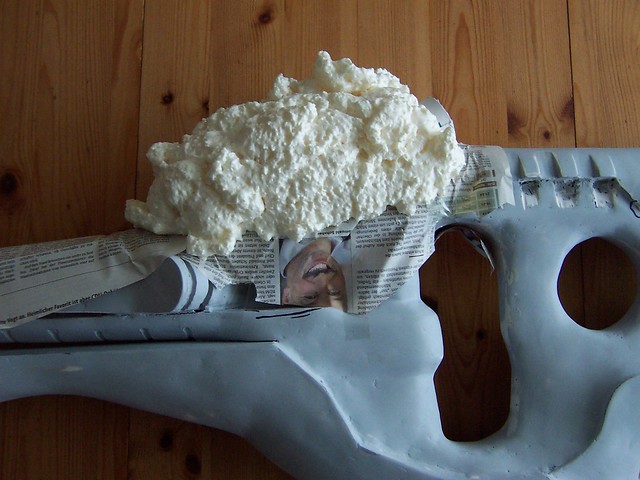
But this time I have to change something.
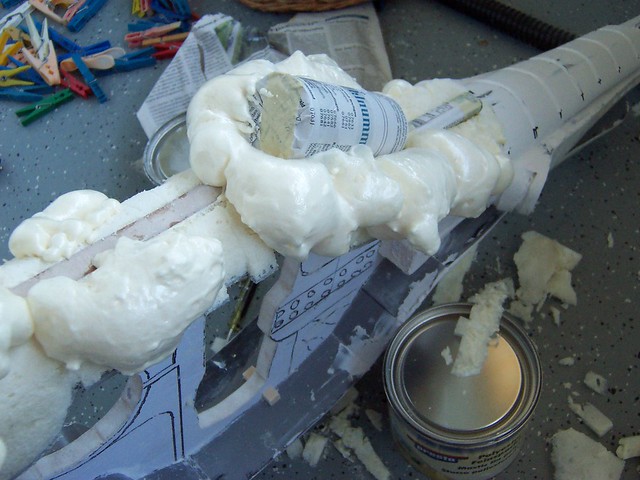
The ammunition needs space and so I taped it on the gun and filled the space between the gun and ammunition with construction foam But I didn't want to glue the ammunition and the gun together so I put the ammunition in a newspaper.
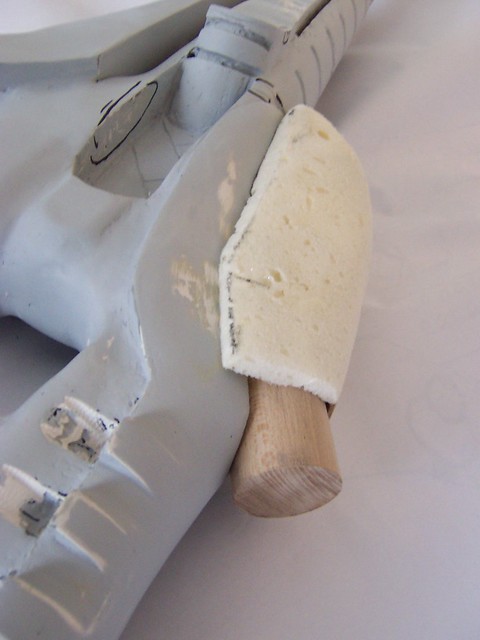
After I cut the construction foam I began to put putty on it.


And more putty.

And sanding
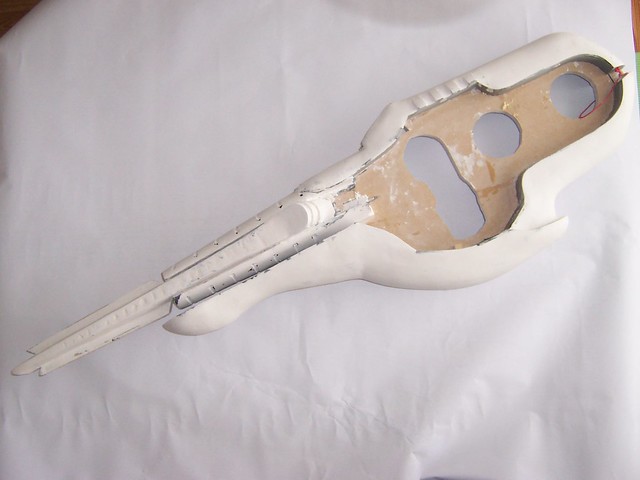
The edges are finished now and I had extreme muscle pains.
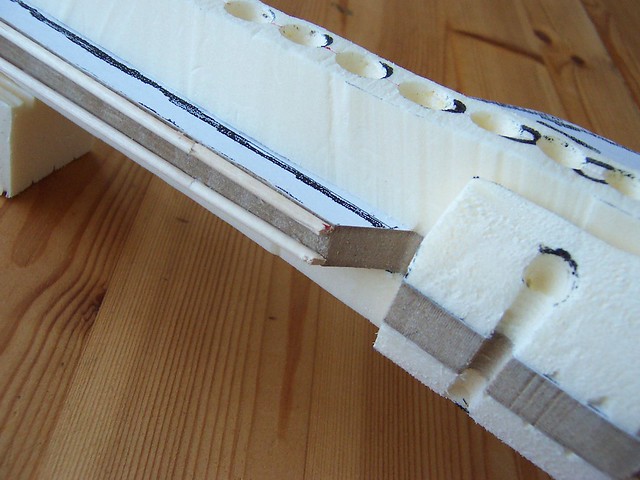
In the following picture you can see the mechanism of the ammunition ejection.
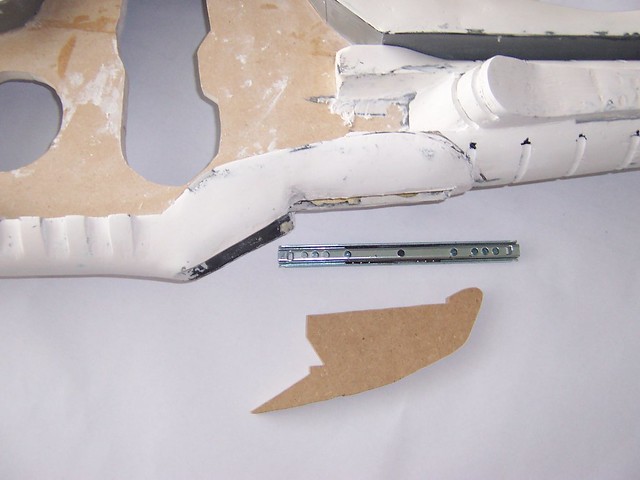

And the inside job, the handle of the carbine etc.
- construction foam

2.) cutting

- and polyester putty or bondo or whatever you call it. (I have no idea what bondo is, but maybe you don't know what Tesa or Tempo are)
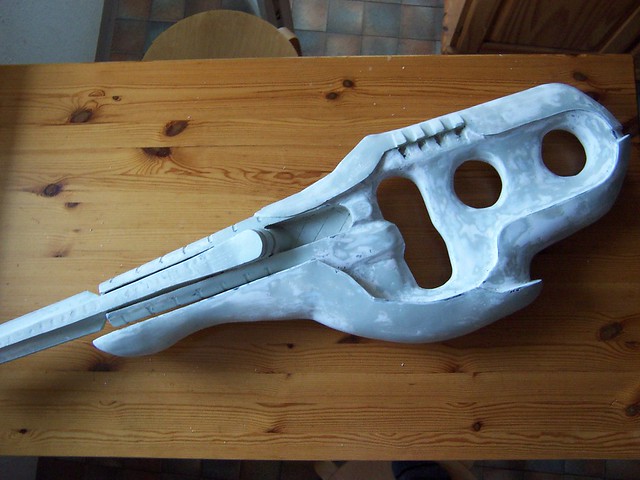
The last layers of putty and sanding give the surface a nice polished look.
Now the surface is extremely hard and looks very good.
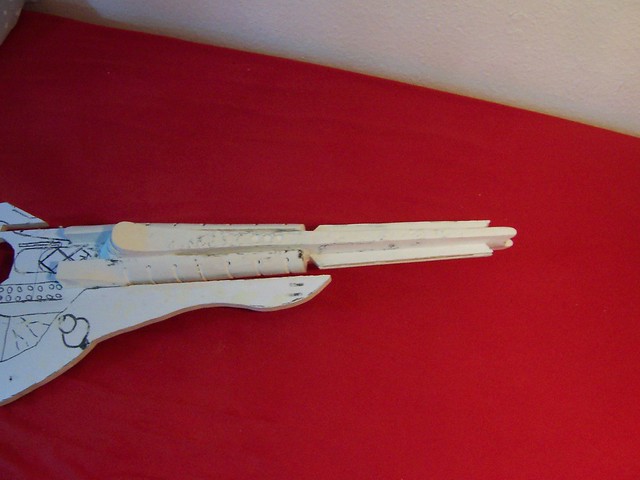
And the ammunition ejection and its three steps:

Then the putty and finally color on this part.

Then I made the details on this carbine with my dremel tool.
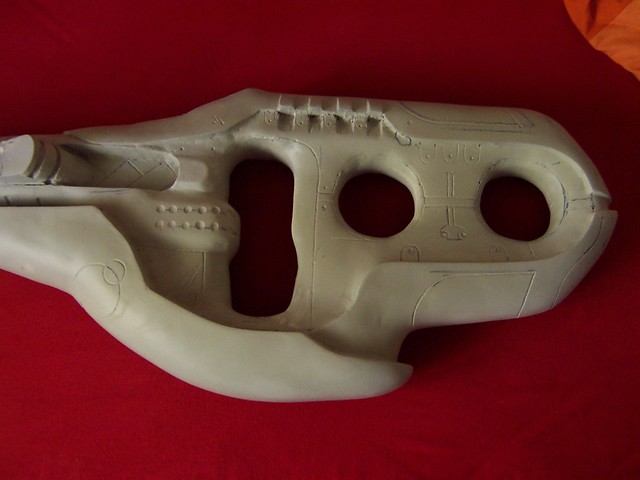
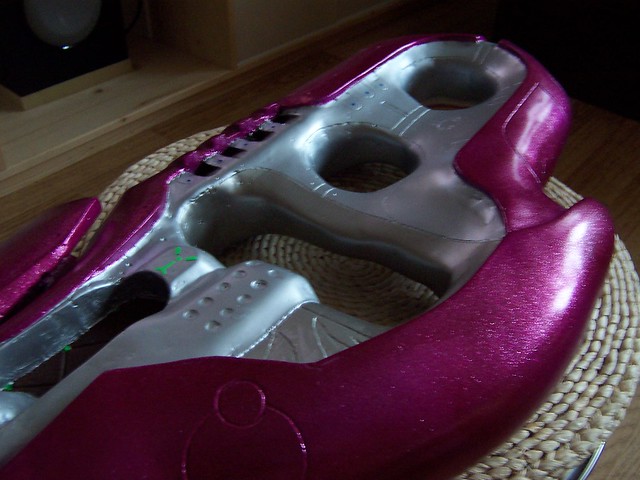
After the surface gets its last finish ... the color:

First the metal look.
And then the magenta on the edge.
I'm sorry for the bad quality of the pictures - there must be something wrong with my camera...

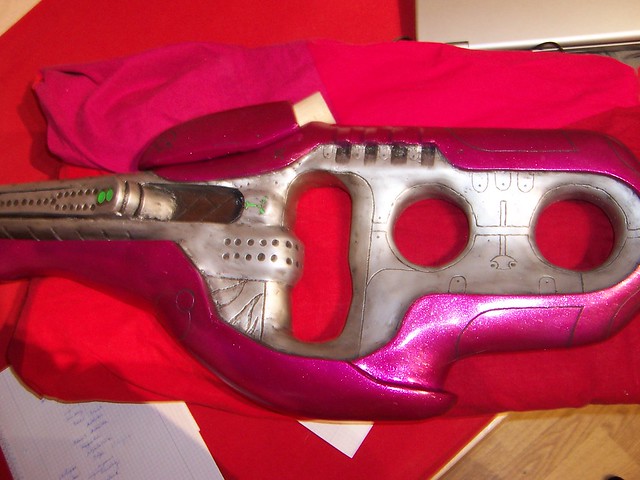
And now the last step - aging. If you want to read the exact description, read the post about the Laser Rifle.
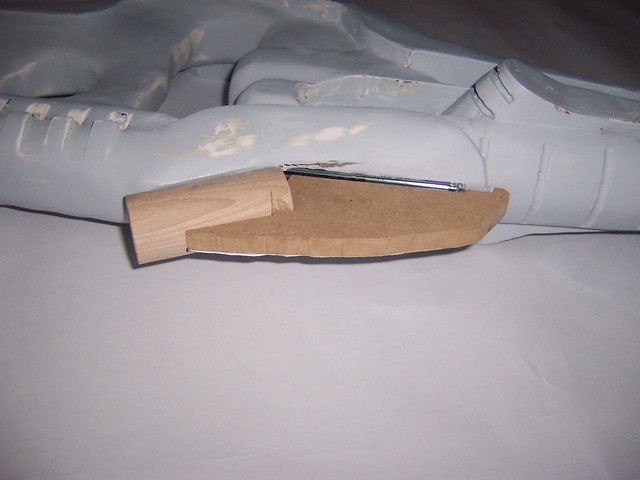
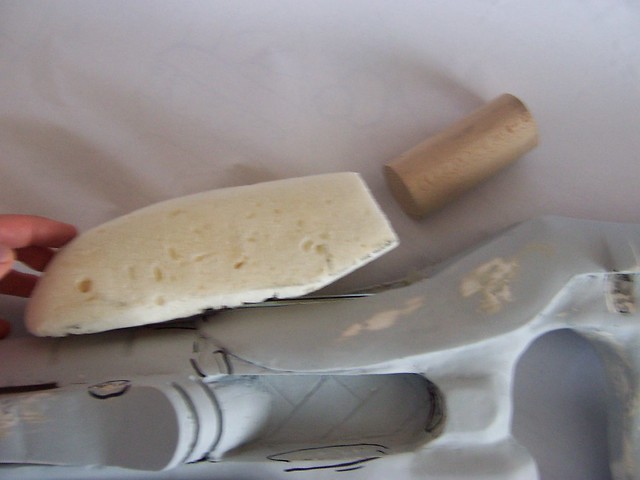
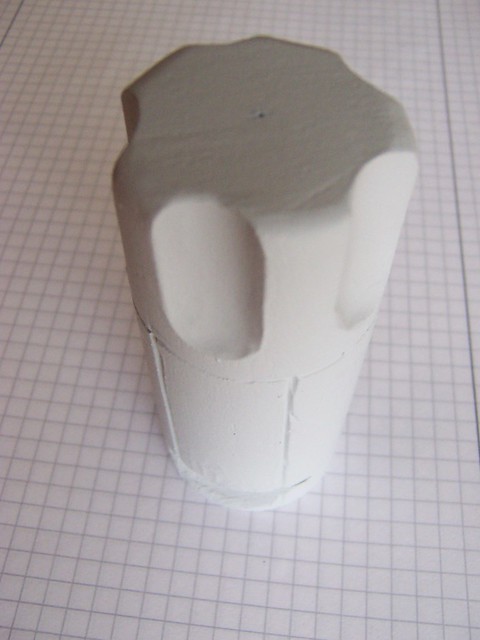
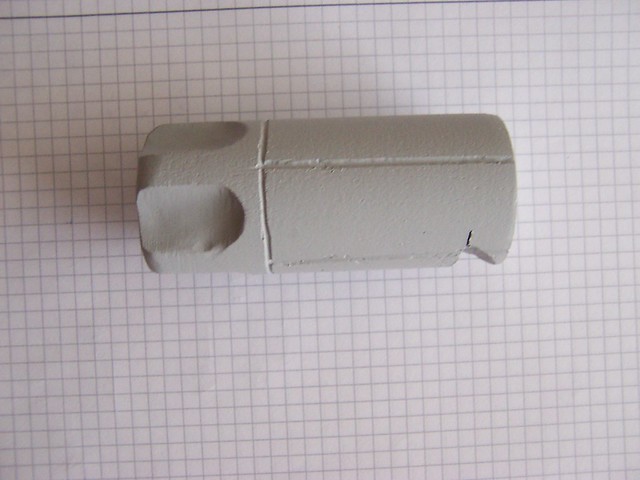
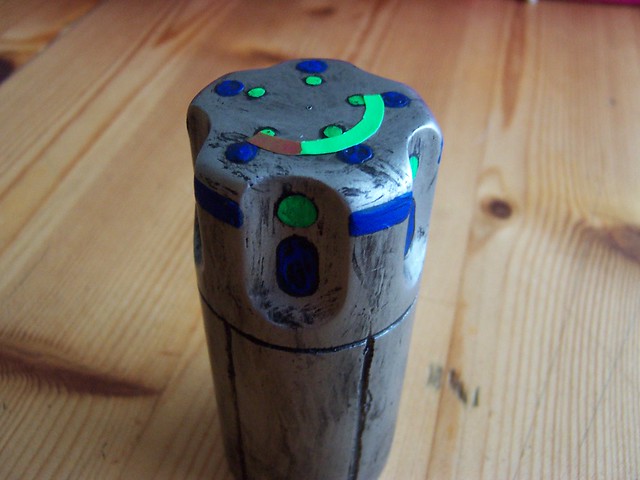
Oh. I almost forgot the ammunition itself,
- shaping the wood with my dremel tool
- putting putty on it
- a bit of sanding and
- coloring
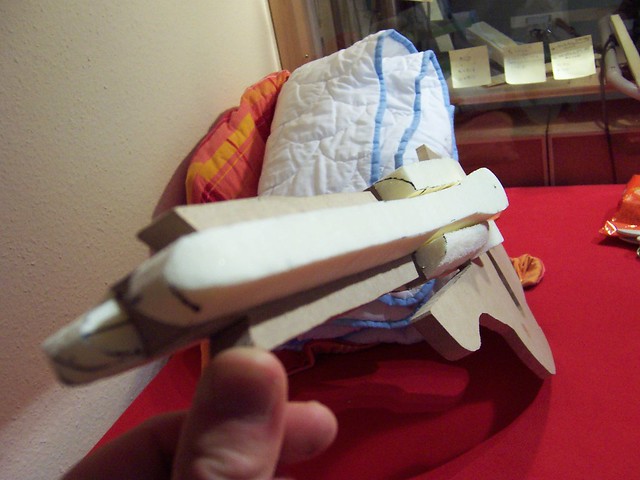
Together all parts look like this:
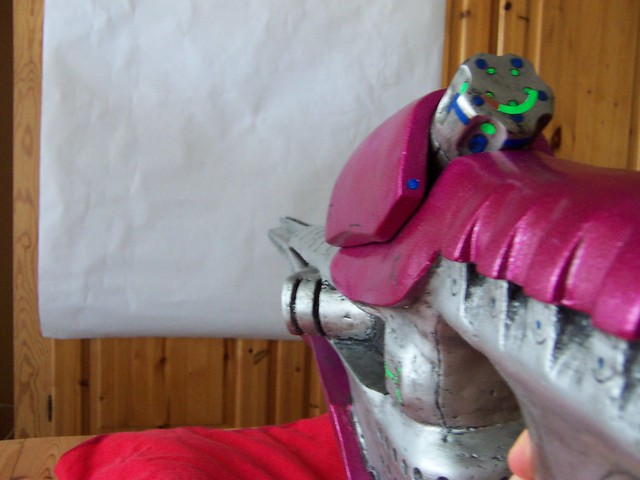
Yeah, I'm the master chief
Ok, thanks dudes for your time and I hope you enjoy reading my text here and if not, why are you still reading, I don't care. I hope this helps you and if not, ask me your questions.
Please leave your comment below or on my youtube channel.
Share with your friends and associates.
Hey, how much would it cost for you to make one for me?
der ist dir echt gut gelungen ;-)
i have been wondering wat brand of foam do you use well my main point is that i'm asking for you to take a few pictures of you'r materials (i am asking you this because im making a talon company merch combat armor from fallout 3 and your awsome carbine gave me an idea so please show me the materials you use thank you)
hi Deadhipo.
The foam is just simple construction/Assembly foam from the Hardware store.
Something like this:
http://de.wikipedia.org/wiki/Montageschaum
Hello,
Would you make for me another carbine please? I have no skill to do that.
I will be very patient.
If you have completed it I will give you my email address to send the completed product :)
where did you get the polyester putty? is there a brand or more specific name for it that i can look for?